 Murmur
How to Use Voice Typing in Any App on Windows
Most people discover voice typing inside one app, usually a word processor or a phone keyboard, and then find it does not follow them anywhere else. On a desktop you write in a dozen places a day: email, chat, a browser form, a code comment, a spreadsheet cell. Voice typing is only worth learning if it works in all of them.
This guide covers the options Windows gives you, where each one stops being useful, and how to set up dictation that types into whichever window you are already working in.
Option 1: Dictation built into a single app
Microsoft Word, Outlook and several web apps have a Dictate button. It works, but only inside that app. The moment you switch to Slack, a browser or a ticketing tool, the feature is gone and you are back to typing. If you write mostly in one program this may be enough. For everyone else it means learning a different workflow per app, or giving up on voice entirely.
Option 2: Windows voice typing (Win + H)
Windows 10 and 11 include system-wide voice typing. Put your cursor in a text field, press Win + H, and a small toolbar starts listening. It is the closest thing Windows ships to "dictate anywhere", and for short messages it is a reasonable start.
A few things tend to get in the way once you rely on it daily:
- It depends on online speech recognition. Windows voice typing uses Microsoft's online speech service for most languages, so your audio is sent over the network and it stops working without a connection.
- The shortcut competes with other software. Win + H is a two-key chord, and some apps and keyboard utilities claim it for their own purposes.
- It keeps listening. The toolbar stays open and transcribes continuously, which is convenient for long passages but easy to forget about during a call or a conversation with a colleague.
Option 3: A dedicated voice typing app
A dedicated dictation app sits in the background and waits for a gesture or hotkey. When you trigger it, it records, turns your speech into text, and inserts that text at your cursor in whatever app is in front. Good ones share three properties:
- They type into the app you already have open, instead of making you dictate into their own window and copy the result out.
- They never take the keyboard focus away from that app. If they do, the text lands in the wrong place. We explain why in a separate article.
- They make starting and stopping explicit, so nothing is recorded unless you asked for it.
Murmur is built around exactly those three rules, and it adds a fourth that matters if you dictate anything sensitive: speech recognition runs on your own computer, so your voice is never uploaded.
Setting up voice typing in every app with Murmur
- Install Murmur from the Microsoft Store and open it. The settings window appears.
- Download the speech model. This happens once and takes a few minutes on a typical connection. If it is interrupted it resumes where it stopped.
- Click into any text field in any app: an Outlook reply, a Teams message, a Google Docs paragraph, a search box.
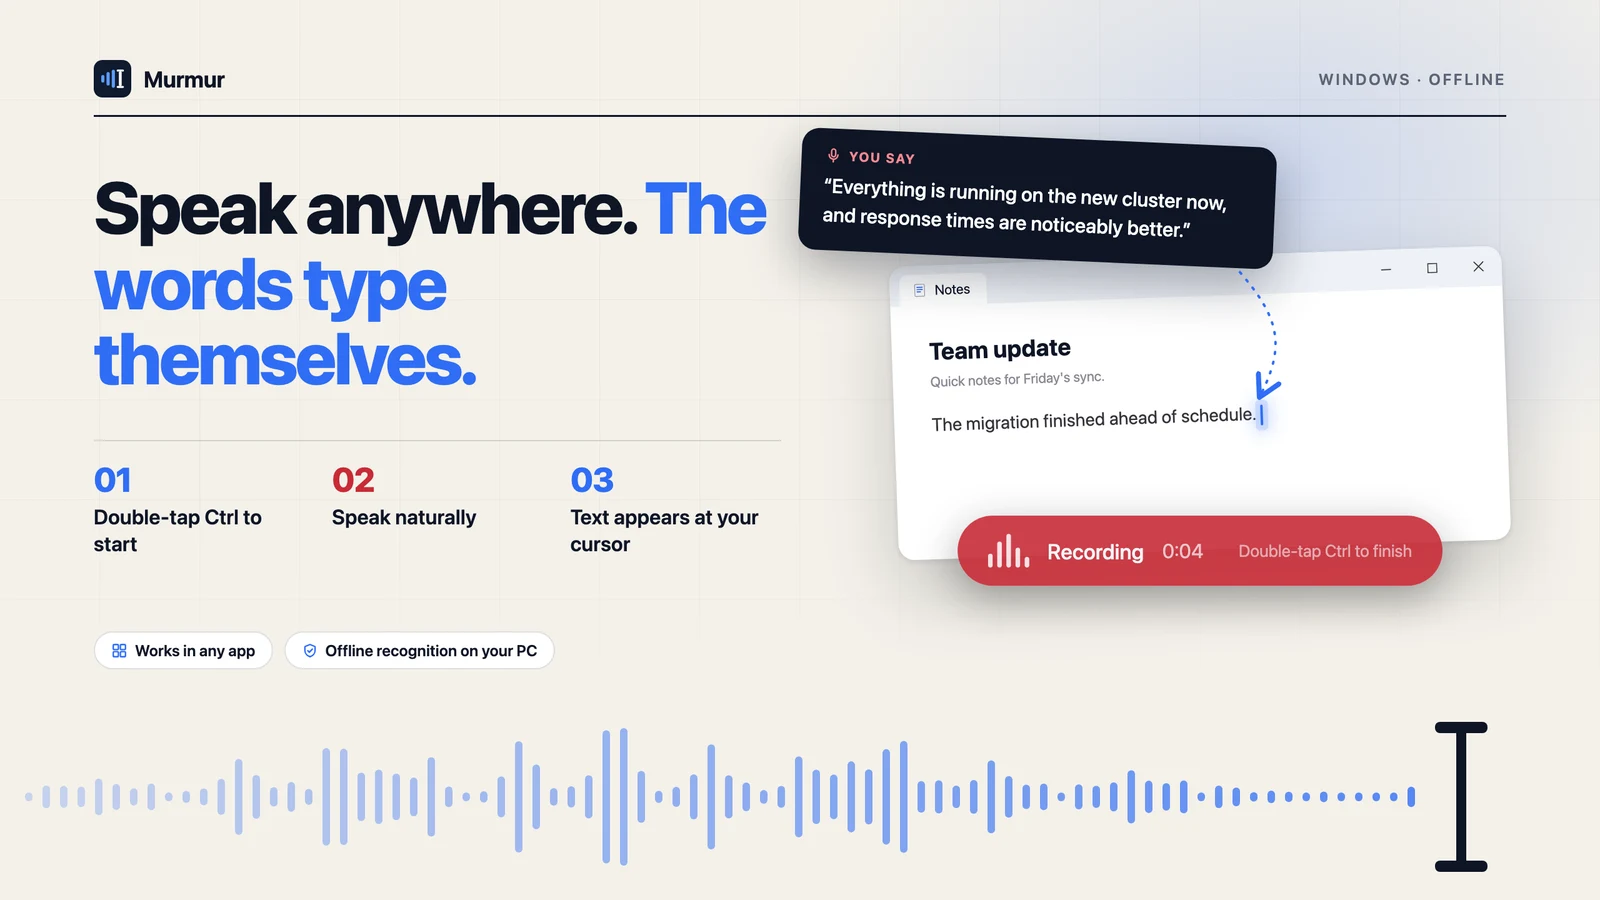
- Double-tap Ctrl. A small red capsule appears near the bottom of the screen with a running timer. Your cursor stays where it was.
- Speak normally. There is no need to pause between words or say punctuation out loud.
- Double-tap Ctrl again. The capsule disappears and your words are inserted at the cursor.
Changed your mind halfway through? Press Esc while recording and the audio is thrown away. Nothing is transcribed or typed.
Why a double-tap instead of a shortcut?
Ctrl is the busiest key on the keyboard. Ctrl + C, Ctrl + V, Ctrl + Z and Ctrl + Tab all start with it. Murmur's trigger is a bare double-tap of Ctrl with nothing else pressed. The moment you press any other key while holding Ctrl, Murmur treats it as the ordinary shortcut it is and stays out of the way. You keep every shortcut you already know, and you gain one gesture that is hard to fire by accident.
If the default timing does not suit your hands, the settings window lets you change how short a press must be to count as a tap, and how quickly the second tap must follow the first.
Where voice typing works best
- Email and chat replies: the bulk of daily writing, and the place where speaking is most natural.
- First drafts: get the ideas down by voice, then edit with the keyboard.
- Notes during research: dictate a thought without leaving the page you are reading.
- Forms and tickets: describe a bug or a request in full sentences instead of terse fragments.
- Reducing strain: if your wrists or hands get tired, moving even part of your writing to voice helps.
Tips for accurate results
- Use a headset or a laptop's built-in microphone in a quiet room. Distance and background noise matter more than which microphone you use.
- Speak in complete phrases. Recognition uses context, so a full sentence is usually more accurate than single words.
- Keep each recording to a thought or a paragraph. Short, frequent dictations are easier to review than one long monologue.
- Edit with the keyboard afterwards. Voice for volume, keyboard for precision is the combination that actually saves time.
Murmur types what you say into any Windows app, and your voice never leaves your PC.
Get Murmur from the Microsoft Store